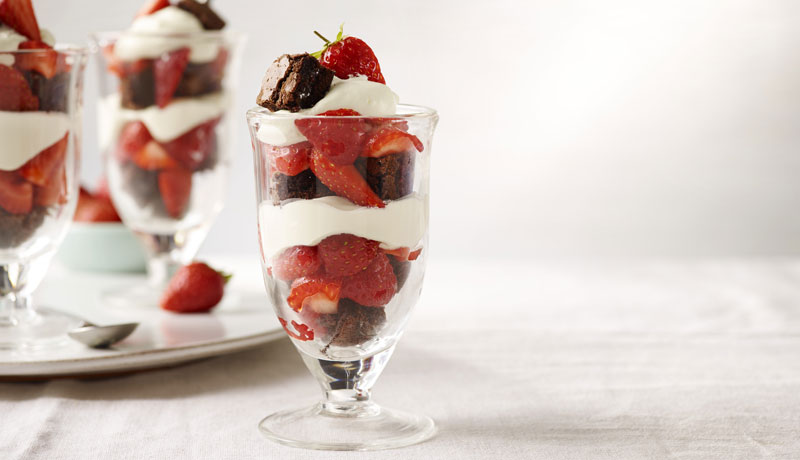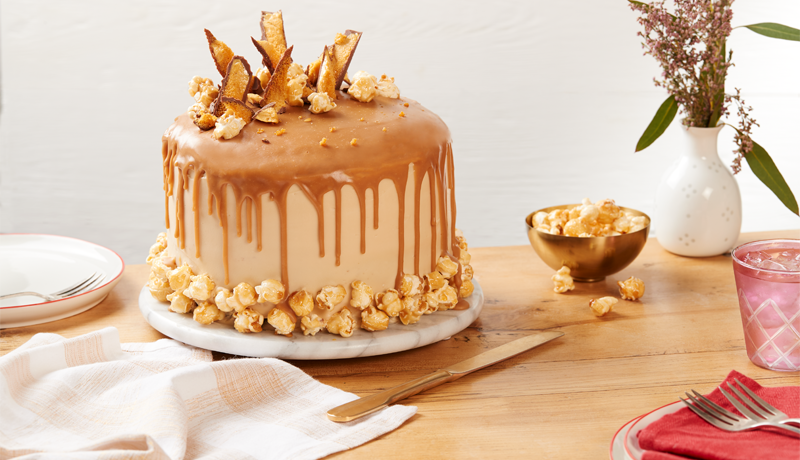
Chocolate Layer Cake with Salted Caramel Drip
4 Hours
20 Minutes Total
24 Servings
Chocolate and salted caramel is a match made in heaven and this showstopping cake is one big crowd pleaser!
Ingredient List
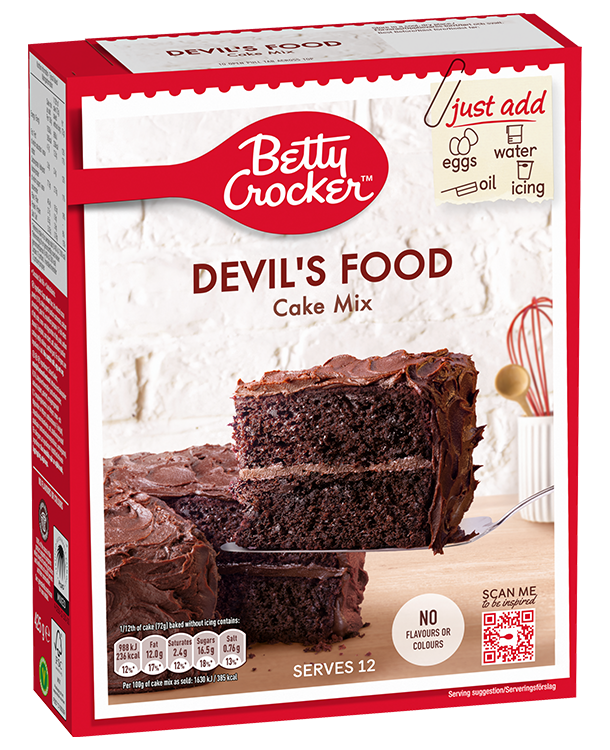
- 2 boxes Betty Crocker™ Devil’s Food Cake Mix
- Eggs, oil and water called for on the cake mix box
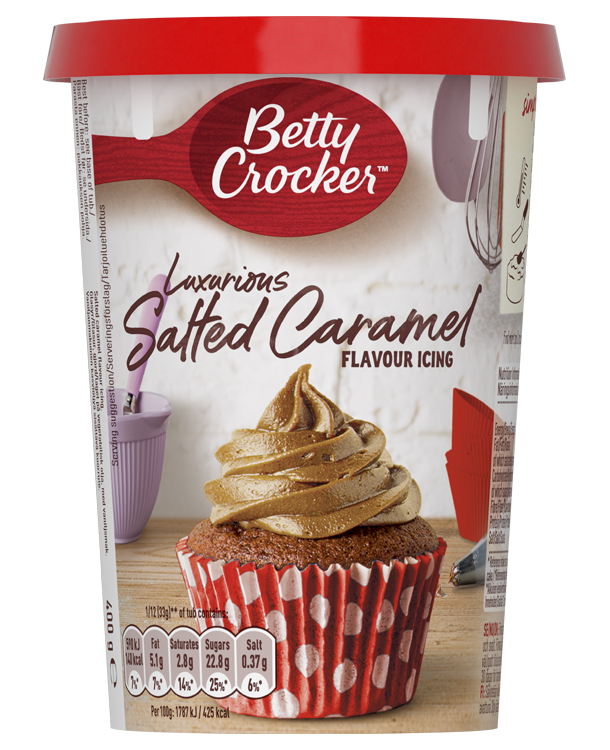
- 1 tub Betty Crocker™ Luxurious Salted Caramel Flavoured Icing
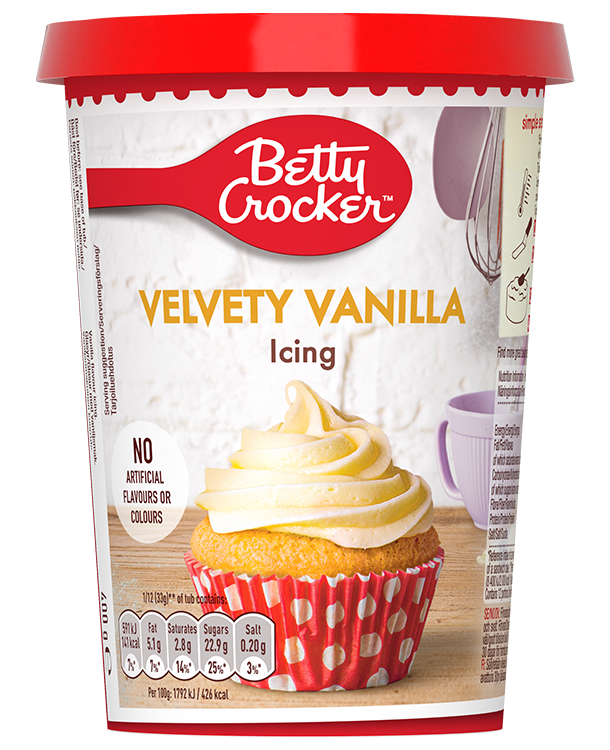
- 2 tubs Betty Crocker™ Velvety Vanilla Icing
For the decoration
- 50g toffee popcorn
- 2 small or 1 large chocolate-coated honeycomb bars, cut lengthways into shards and pieces
Preparation
- Preheat the oven to 180°C (160°C for fan assisted ovens)/Gas Mark 4. Grease and line 4 x 20cm round cake tins. Make, bake and cool the cakes as directed on the box using the eggs, oil and water (see Tips).
- Mix 200g of the salted caramel icing together with all the vanilla icing in a bowl. Reserve the remaining salted caramel icing for the drip.
- Level the tops of the cooled cakes, if necessary. Place one sponge on a cake decorating turntable, serving plate or cake stand and spread with 100g (roughly 3 tablespoons) of the caramel and vanilla icing. Repeat, ensuring each sponge is sitting evenly on top of the one under it. Spread another 350g of the caramel and vanilla icing in a thin layer over the sides and top of the cake (this is called the crumb coat), leaving the rest of this icing for the final thicker coat. Chill for 15 minutes until firm to the touch.
- Ice the whole cake again with the remaining caramel and vanilla icing. Use a long palette knife to smooth the sides.
- Press most of the popcorn (saving 10g for the top) carefully around the bottom of the cake while the icing is still soft. Chill the cake again for 15 minutes until firm to the touch. Transfer to a serving plate if not already on one.
- For the drip, heat the reserved salted caramel icing, following the directions on the tub for 15-20 seconds, until quite runny when stirred with a spoon. Working quickly, gently pour the runny icing onto the centre of the cake and ease over the edges with a spatula, if needed. Drips will form down the sides of the cake (see Tips). Decorate the top with the honeycomb shards and the remaining popcorn.
- It’s best eaten within 1-2 hours of decorating, but can be kept in the fridge or an airtight container in a cool place for 2-3 days.
Tips
- For more accurate drips, you can transfer the warmed icing into a piping bag or nozzle ended bottle and squeeze from the top edges of the cake, letting the drips slowly travel down the sides. Once the drips have been completed, pour the remaining icing into the middle of the cake and gently ease over the top with a hot palette knife.
- If you do not have 4 cake tins, make up one pack of the cake mixture, bake in 2 cake tins and cool. Clean the tins, then repeat with the second pack of cake mixture.