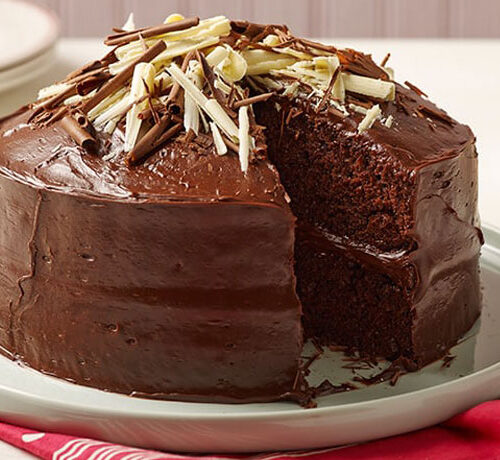
Chocolate Hedgehog Cake
1 Hour
15 Minutes Total
12 Servings
This delightful hedgehog cake recipe with a moist chocolate sponge and delicious Betty Crocker™ chocolate fudge icing is sure to make anyone smile.
Ingredient List
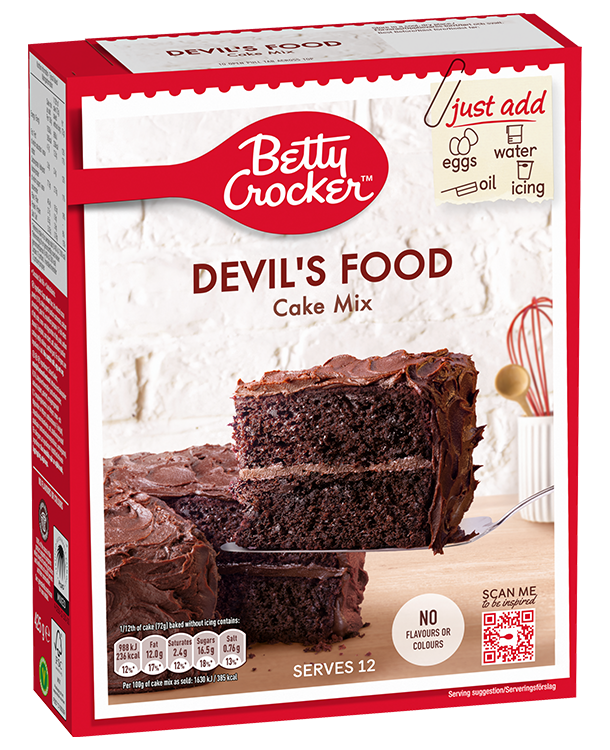
- 1 box Betty Crocker™ Devil's Food Cake Mix
- 120 ml vegetable oil (6 tbsp)
- 3 medium free range eggs
- 230 ml water
Topping
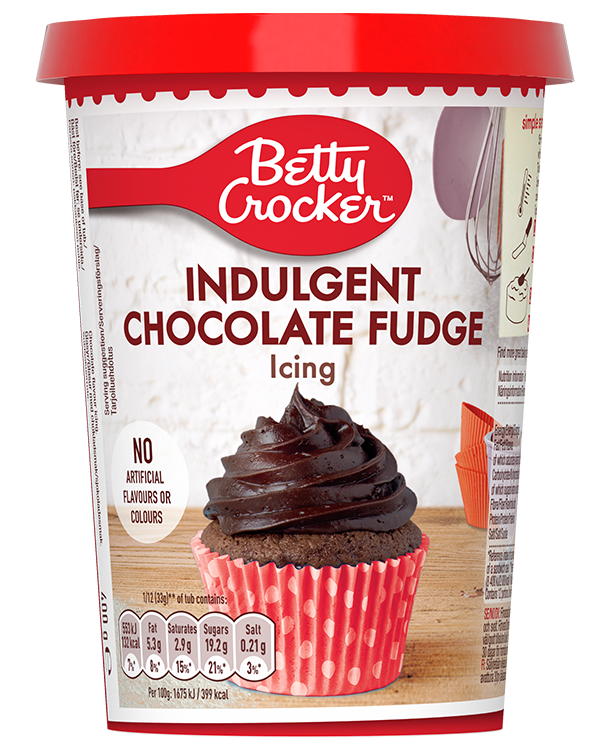
- 2 tubs Betty Crocker™ Chocolate Fudge Icing
- Normal and giant chocolate buttons
- white chocolate buttons
- Milk chocolate drops
- Milk chocolate ball
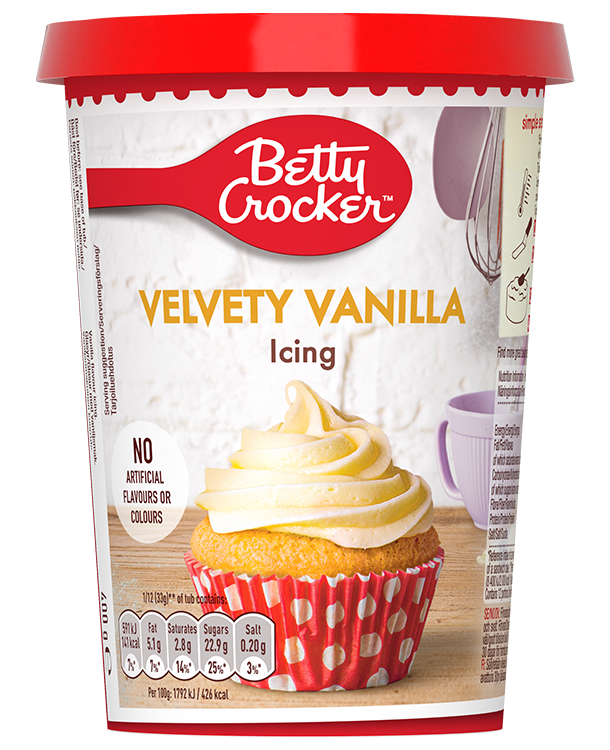
- (optional for grass: ½ tub Betty Crocker™ Vanilla Icing and green food colouring)
Preparation
- Preheat your oven to 180°C (160°C for fan assisted ovens) / Gas Mark 4. Grease the tins or line with greaseproof paper.
- Mix the eggs, oil, water and Devil’s Food Cake Mix gently together and whisk (by hand or electric mixer) for 2-3 minutes until smooth and creamy.
- Pour the cake mix evenly into your two greased cake tins.
- Bake in the centre of the oven for 23- 28 minutes or until a rounded knife inserted into the centre of the cake comes out clean. Cool for 10 minutes in the tin then cool on a cooling rack.
- Ice a thin, even layer of icing over the top of one cake and gently press the other cake on top. Cut off a section from each side and a point at the bottom of the cake.
- Cut the point of the cake at an angle to create a nose.
- Ice a thin layer of icing over the top of the cake and stack the offcuts on top. Apply more icing to the whole cake (you may want to water down the icing slightly to make this easier) then place in the fridge for 30 minutes. Once set apply another layer of icing all over the cake for a smooth, crumb free finish.
- Decorate the giant buttons in half and place in row towards the back of the cake.
- Attach the normal sized buttons around the front of the cake, leaving room for a face.
- Create the eyes by sticking white chocolate buttons at the front and add some icing to the chocolate drops to stick them onto the buttons. Finish off with a milk chocolate ball for the nose.
- Add a few drops of green food colouring to half a tub of vanilla icing and mix well. Spread over the cake board to create the grass.
- Finish with some flower decorations and leaves for a beautiful final touch!