How to Make Drip Icing for a Cake
Take your cakes up a notch with this easy decorating method. We’ll show you how to make drip icing in three simple steps, so that you can make a real splash (or a drip!) with your next bake.
The most popular icing for getting that ideal drip texture is ganache. Follow our easy ganache steps first, so you’re ready to try the drip method.
- Ganache is made up of a 1:1 ratio of chopped chocolate and cream. If you want to use white chocolate, just lower the ratio of cream so it’s three-parts chocolate, one-part cream.
- Bring the cream to a boil, then pour it over your chopped chocolate.
- Let it sit for two minutes and then stir until it is smooth and shiny.
How to Do Drip Icing
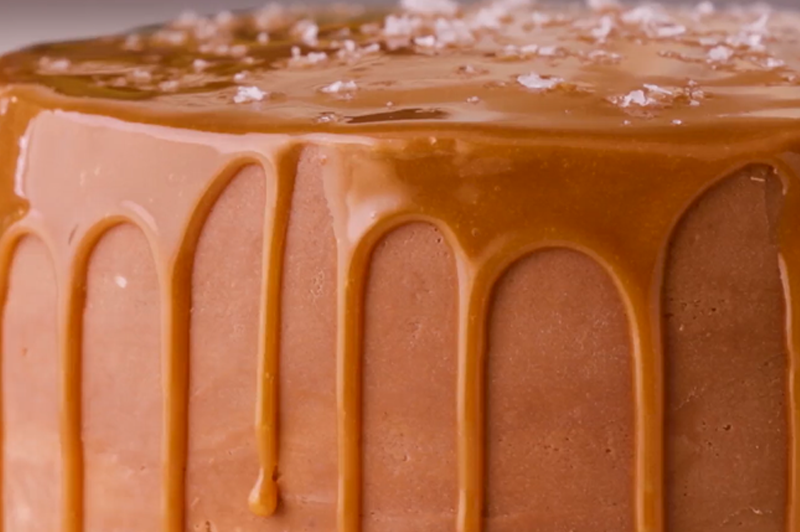
You can either use a spoon or a plastic squirt bottle to get those perfect drips. Both work really well, so it’s up to you to decide which you prefer. First thing’s first though, make sure your cake is iced (we recommend buttercream). Then leave it to chill in the fridge before you begin the drip method, otherwise your warm ganache will melt into your icing.With a spoon: Take a spoonful of ganache, and carefully, tip the spoon so the ganache falls all along the edges of your chilled cake. Start slow and with a small amount, as you can always add a little more to create longer drips if you want. Once you’re done pouring, clean your spoon between each scoop of ganache, so your drips stay smooth and don’t pick up any cake debris.
With a squirt bottle: Fill your squirt bottle with ganache, then run it around the edges of your cake. The advantage of the squirt bottle is that you can apply the border of drips much faster than you can with a spoon, so if you have one of these, it might be worth giving it a whirl first.
When you’ve added your drips, just fill in the centre of your cake with the leftover ganache. That’s it!
Tips on Making a Drip Cake
When designing your chocolate drip cake, you can let your imagination run wild with ideas. But there are a few important aspects to keep in mind to get the best results.Chill your cake first
One of the most important steps in this process is to make sure that you chill the cake before you get round to cake decorating. After all, you don't want all your hard work to go to waste before you’re able to taste it!After removing from the oven, leave your cake to sit for around 10 minutes. From there, place it directly onto a cooling tray. Then place your cake in the fridge (or freezer). To allow a faster cooling time, you can also cut the cake after the outside has chilled.
Chilling your cake is an important step because, if you add the drip recipe to the cake while it's still warm, you risk the icing running down too far and not setting properly.
Test the ganache
Before you start adding your chocolate ganache drip to the top of the cake, we recommend that you make a couple of test drips first. Take your spoon or squirt bottle and test how the ganache flows down the cake. This will allow you to adjust if needed.If you’re happy with the initial drip, you’re ready to start decorating! But if you notice that the test drip is too thick or not running far enough down the cake, try popping the ganache back into the microwave for a couple of seconds (be careful not to overcook it, a few seconds should be enough). Alternatively, if the mixture is too thin, adding a dash of extra cream should help.
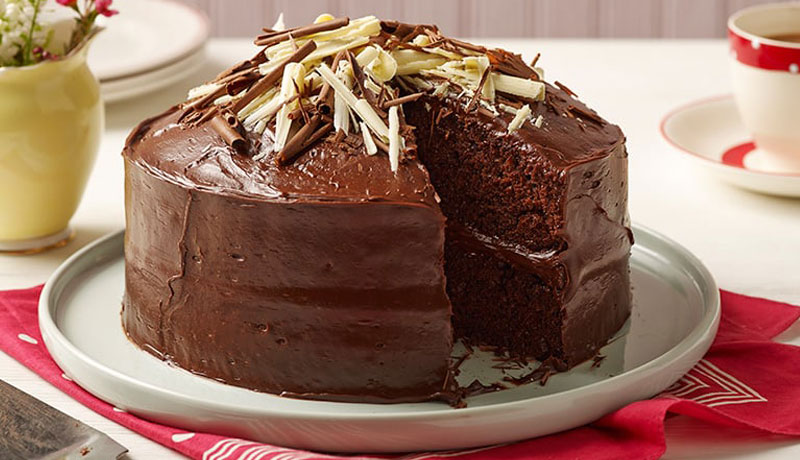
Chocolate Ganache vs White Chocolate Ganache
The main difference between chocolate and white chocolate is the ratio that is used in the cooking process to make the ganache. Chocolate ganache is typically made up of a 1:1 ratio of cream and chocolate. Making a white chocolate drip is slightly different and you will need to lower the ratio used. This being three parts chocolate to one part cream.