
Read on for directions to make these Ghoulish Treats!
Ingredients for the Brownies:
- 1 box Betty Crocker™ Chocolate Fudge Brownie Mix
- 40 ml vegetable oil, plus extra for greasing
- 75 ml water
- 1 medium free range egg
Ingredients for the Decoration:
- 150g Betty Crocker™ Velvety Vanilla Icing
- Green, orange and yellow food colouring pastes or gels
- 1 small tube black writing icing
- 1 small tube green writing icing
- 1 tube ready-to-pipe black icing
- 3 short round pieces liquorice
- 6 edible candy eyeballs
- 3 pretzel sticks or thin breadsticks
- 1 long thin strawberry lace liquorice sweet, cut into 3 equal shorter lengths
Preparing the Brownies
- Preheat the oven to 180°C (160°C for fan assisted ovens)/Gas Mark 4. Grease a 20cm square shallow cake tin and line the base and 2 sides with baking paper.
- In a large mixing bowl, stir the brownie mix, oil, water and egg together until well blended. Spread the mixture evenly in the prepared tin.
- Bake for 20-22 minutes until a round bladed knife inserted into the brownie comes out almost clean. Transfer to a wire rack and leave to cool completely in the tin; about 30 minutes.
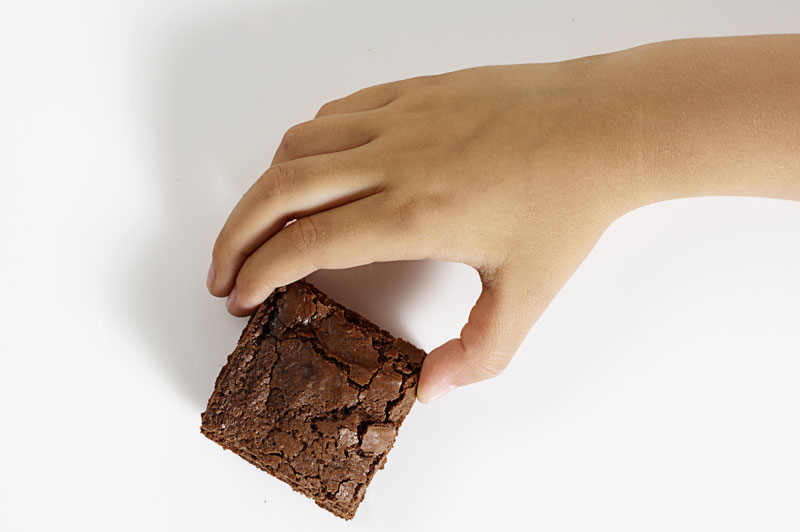
- Lift the brownie from the tin using the baking paper and cut in half. Cut 1 half into 8 squares. Cut the other half into 6 triangles, each with a 4cm wide base (see diagram). You will have some brownie left over at the sides from this half to discard or eat!
- The brownies will keep for 2-3 days in a cool place.
Colouring the Icing:
- Place 75g vanilla icing in a bowl and use the green food colouring paste or gel to colour the icing green.
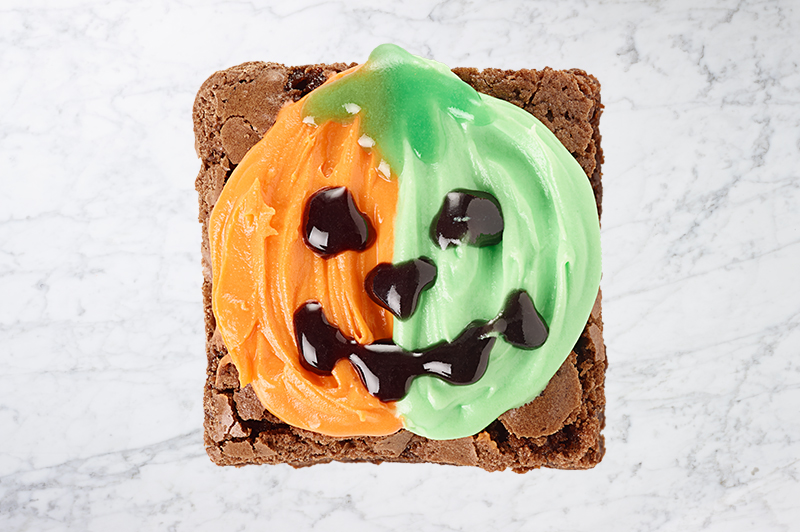
Pumpkin Brownies
(Makes 8)
- Place 30g of the icing in a bowl and use the orange food colouring paste or gel to colour the icing bright orange.
- Spread 2 square brownies with 1 teaspoon each of the orange icing, 2 square brownies with 1 teaspoon each of the remaining white (uncoloured) icing and 2 square brownies with 1 teaspoon each of the green icing, using the tip of a small palette knife to swirl the icing to resemble a pumpkin shape.
- To create the changing colour faces on the remaining 2 square brownies, spread half of each brownie with the rest of the orange icing to make half a pumpkin face.
- To complete the pumpkin faces, use ½ teaspoon of the white icing on 1 brownie square and ½ teaspoon of the green icing on the other brownie square.
- Pipe a Halloween pumpkin mouth, nose and eyes on each brownie with some of the black writing icing.
- Use the green writing icing to pipe a green stalk on each brownie.
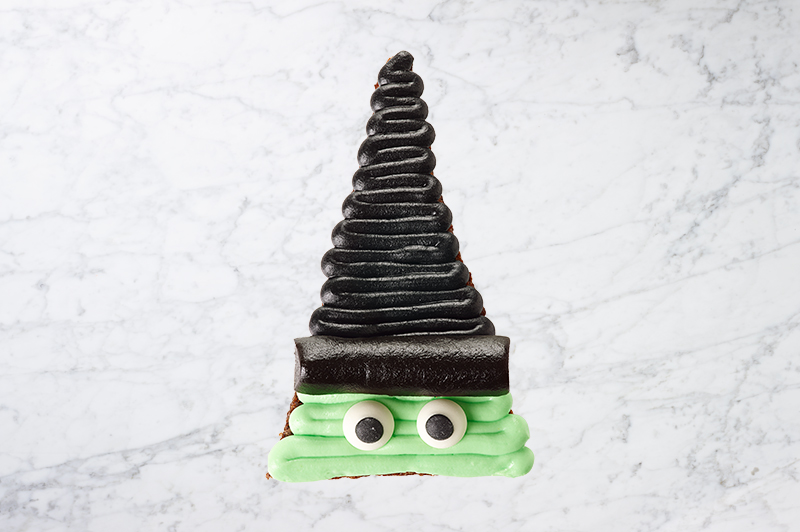
Witch Brownies
(Makes 3)
- Pipe the ready-to-pipe black icing in a tight zig-zag line from the point of 1 brownie triangle to two-thirds of the way down to resemble the black hat.
- Spoon the remaining green coloured icing into a piping bag fitted with a small plain nozzle. Pipe the green icing over the rest of the brownie to resemble the face.
- Place a short piece of liquorice between the black and green icing for the hat brim.
- Place 2 candy eyeballs on the green icing. Repeat to make 3 witch brownies in total.
- Leave in a cool place for 30 minutes to allow the icing to set.
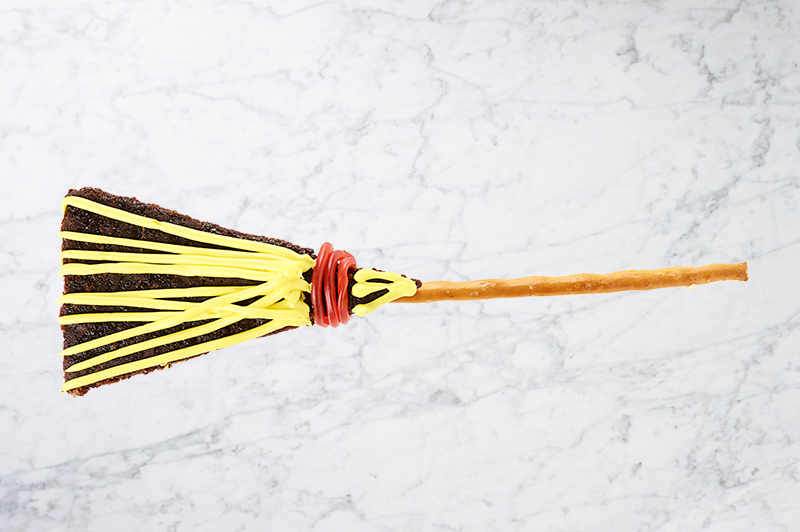
Broomstick Brownies
(Makes 3)
- Insert a pretzel or breadstick into the pointed end of each of the 3 remaining brownie triangles for the handles of the broomsticks.
- Wrap a short length of strawberry lace around each brownie at the pointed end to form a band.
- Use the yellow food colouring paste or gel to colour the remaining vanilla icing yellow. Spoon into a disposable piping bag fitted with a fine writing nozzle and pipe ‘bristles’ on each brownie.
- Leave in a cool place to set; about 20 minutes.
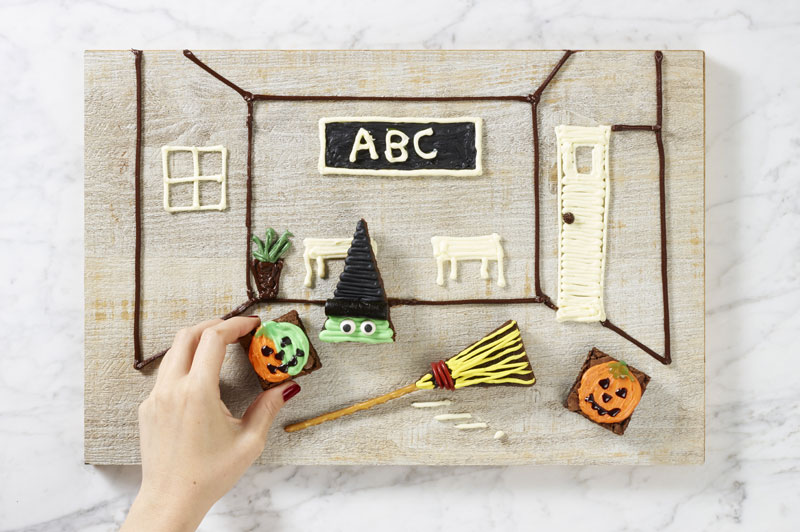
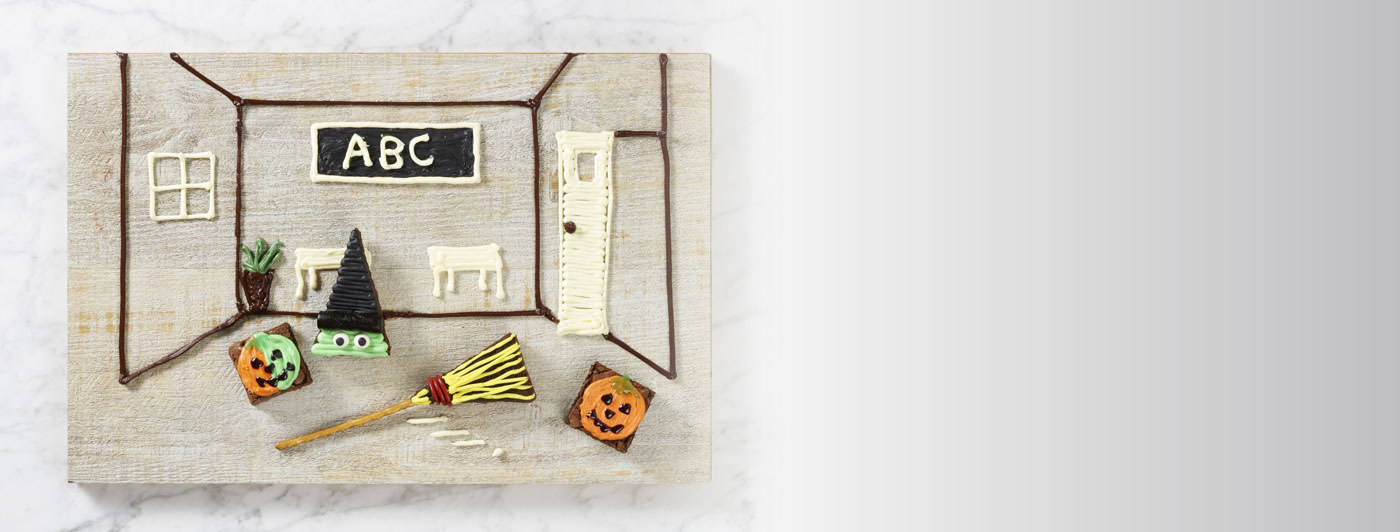
Background Decorating Tips
- Choose a smooth flat surface on which to create your background, such as a large chopping board, baking tray or even the kitchen work top. (Note: make sure it is a clean and food safe surface or cover surface with a sheet of baking paper before you begin.)
- Spoon Betty Crocker™ Indulgent Chocolate Fudge Icing and/or Betty Crocker™ Velvety Vanilla Icing (coloured with food colouring paste or gel, as desired) into piping bags fitted with medium writing nozzles. Pipe background features from the story onto your chosen surface.
- Use sweets, crushed biscuits, cake crumbs, fruit, etc. to create additional details. Be as creative as you like and have fun!